Stuffed Paper Bag Turkey Craft — Kids in the Capital
Paper Bag Turkey Craft Primary Theme Park
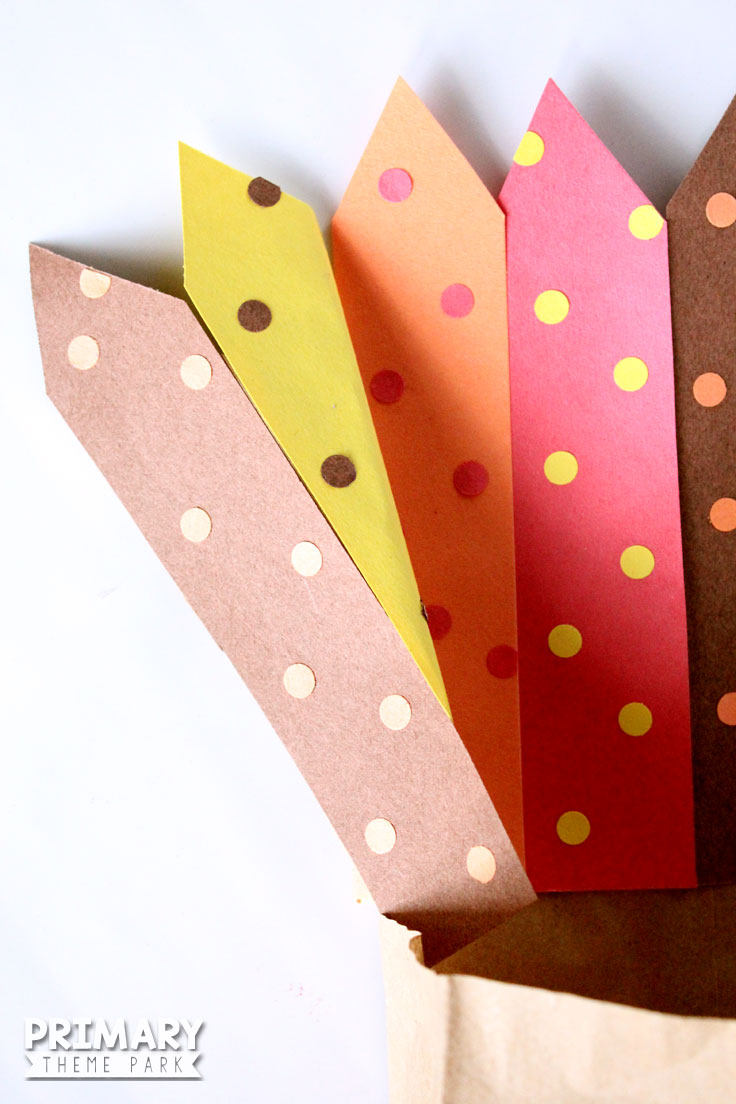
This paper bag turkey craft was exactly what we needed to help play in November! Step 2. Make the turkey shapes. Grab your colored paper and fold it in half (it makes cutting symmetrical shapes easier). Start by folding the white paper and make the turkey eyes by cutting two white circles, then do the same with the back paper and cut out two.

Paper Bag Turkey Craft Primary Theme Park
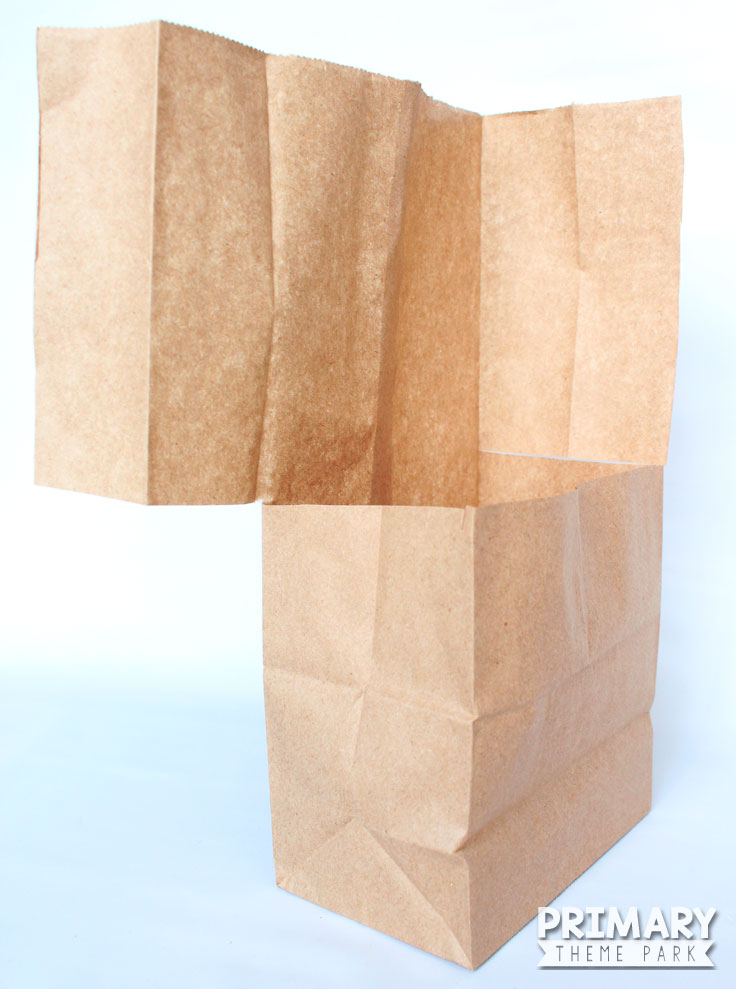
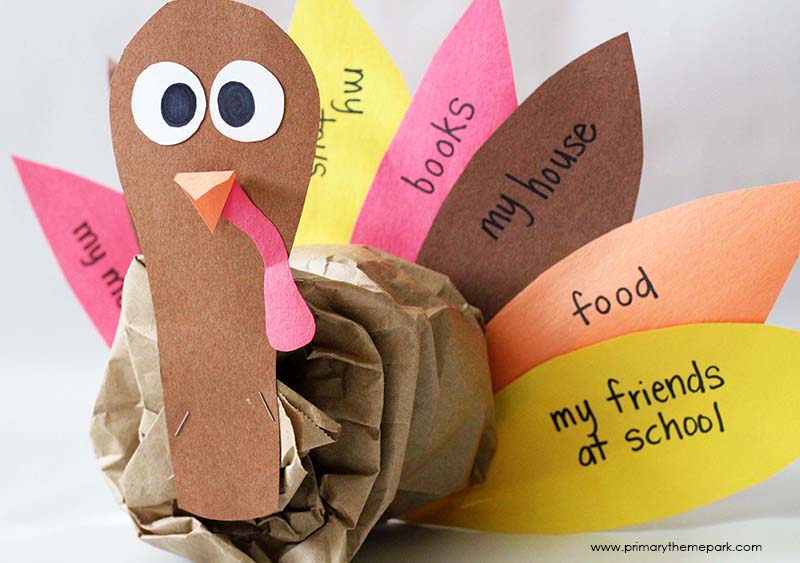
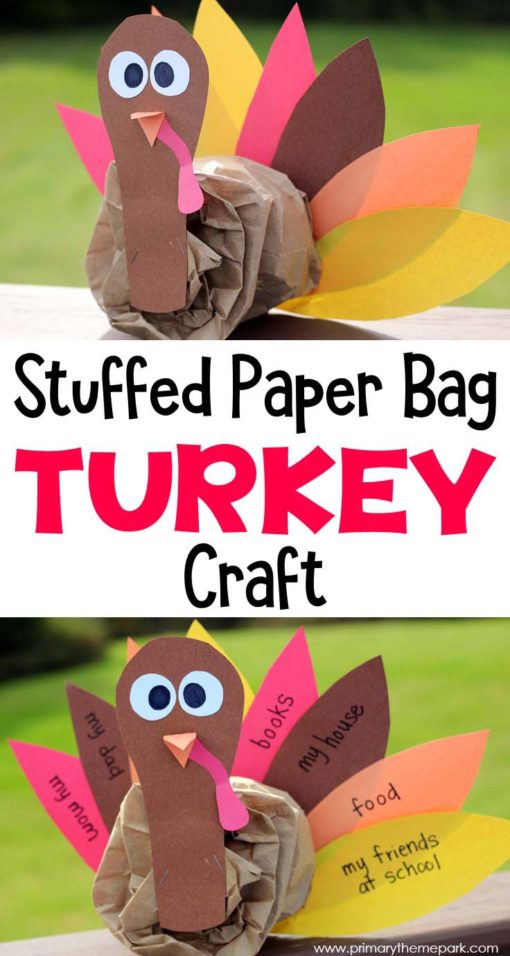
1. Start off by adding pieces of crumbled up scrap paper to your paper lunch bag to make a plump turkey body. We added about five pieces of paper to fill the bag about 2/3 of the way. 2. Once you have your turkey stuffed, gather in the top of your bag and tie off with a piece of twine or string. 3.

10 Paper Bag Thanksgiving Crafts Turkey Adventures of Kids Creative
Handprint turkeys, footprint turkeys, paper plate turkeys, turkey hats…there's just so many ways to make an adorable turkey! My kids are a bit too old for those kinds of crafts but they've been begging to make a turkey. So, I came up with this stuffed paper bag turkey craft just for them. Paper Bag Turkey Craft Materials: brown paper.
Paper Bag Turkey Craft Primary Theme Park
This video demonstration will show you how to make your own stuffed paper bag turkey decorations for Thanksgiving. It is an easy craft project to do with you.

Stuffed Paper Bag Turkey Craft — Kids in the Capital
Paper Bag Turkey Craft Instructions. First, I made sure I had 5 colors of construction paper and 5 matching tissue paper colors. Then, I cut strips of the tissue paper into little squares that could be easily crumbled. I put all of the squares in a big messy pile, and let my little one sort the colors into piles (first learning task:)
Paper Bag Turkey Craft Primary Theme Park
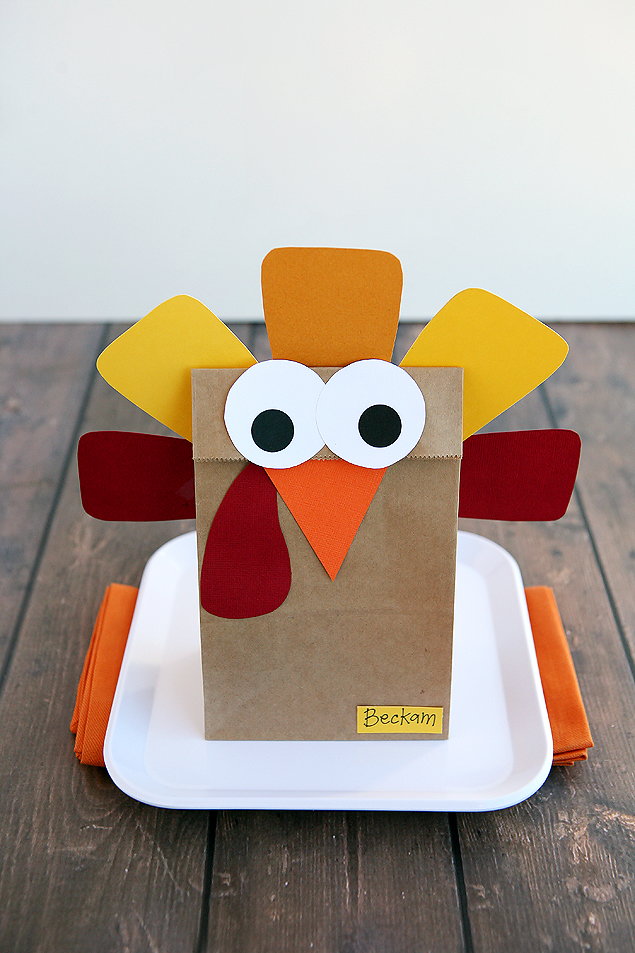
Step 1 - Print the Turkey Template. Cut out the shapes, and trace them onto the construction paper. The beak and feet are yellow (or orange), and the turkey's body is black and red. The red is the smaller body portion. The turkey's beard is also red.
20 Fun and Crafty Paper Bag Turkey Projects Guide Patterns
Glue the two red feathers all the way to the right side. Then, glue the two orange feathers, followed by the two yellow feathers. Then, glue the two final feathers to the right side completing the feather portion. When you flip the paper bag over, they will be in the opposite order. Add the four handprints you traced and cut out.
20 Fun and Crafty Paper Bag Turkey Projects Guide Patterns
Stuff the brown paper bag approximately half full. Cut 1 1/2″ strips from the top of the bag, halfway down all the way around the bag. Carefully twist the bag just below where you have cut the strips. You may need to add a small amount of hot glue to secure the bag shut. Stuffed paper bag turkey craft. Using the hot glue, add the colorful.
Stuffed Paper Bag Turkey Craft Primary Theme Park
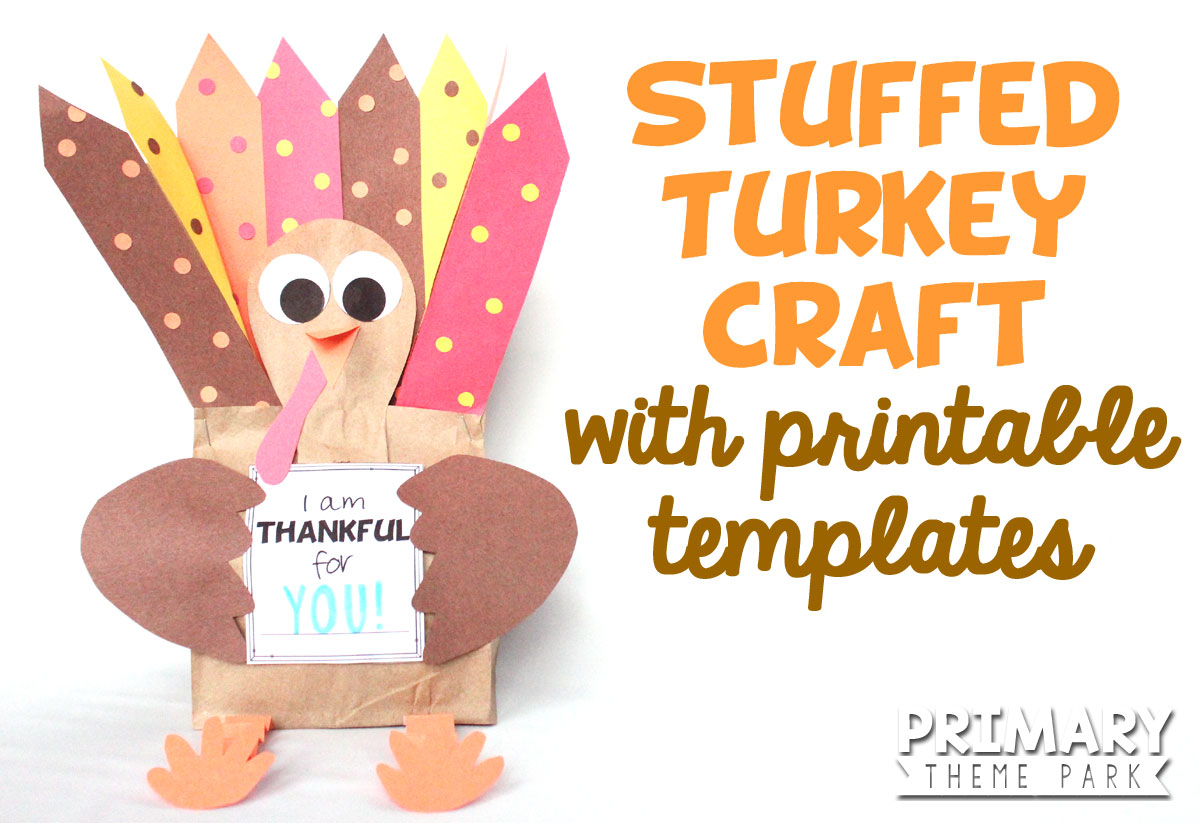
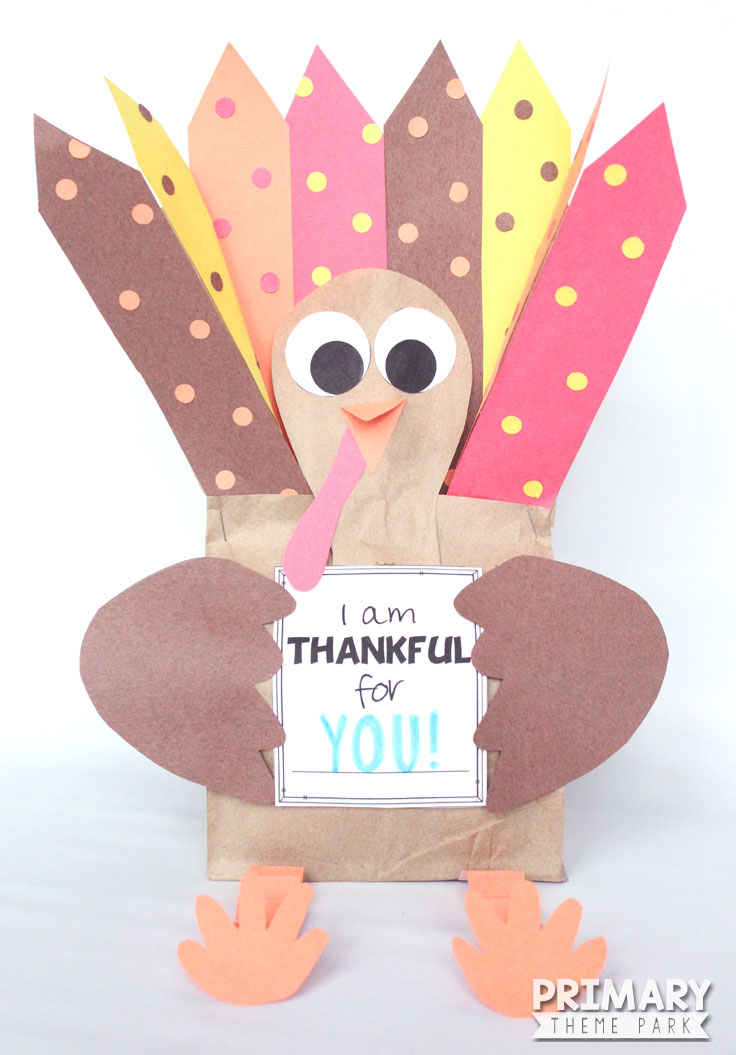
Step 3: Make The Head. You can make the head by cutting a circle of your brown paper, and then helping your child to glue the googly eyes to it. Cut a small triangular beak from your yellow paper, and glue this between the eyes. Cut a wattle from red paper, and stick this under the beak.Stick the head to the paper bag when your child has.

Stuffed Paper Bag Turkey Craft Idea Easy Thanksgiving Decoration to
Then twist the bottom portion closed. 5. Take a 2-3″ strip tissue paper and cut fringe on one side of it. 6. Adhere one end of the tissue paper strip to the twisted part of your turkey leg with hot glue or a glue dot, then wrap it round and round before finally securing it with another glue dot. 7.
Paper Bag Turkey Craft Primary Theme Park
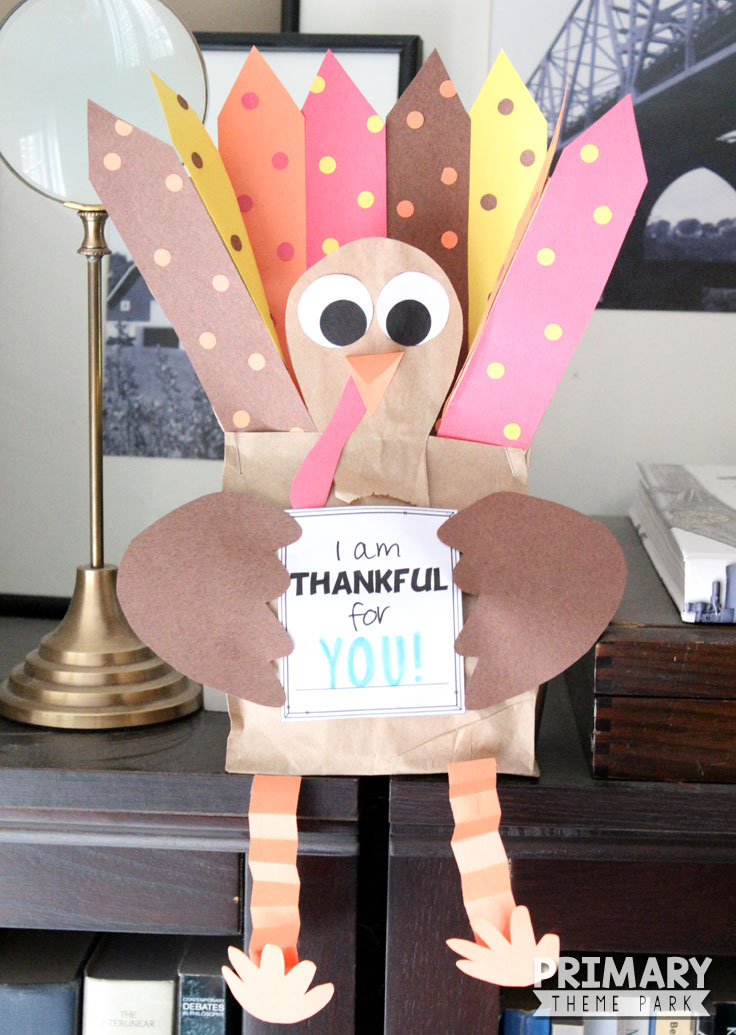
Cut out a red "squiggle" for the gobbler. Glue the feathers onto the back of the paper bag with the bottom side on the top (so the crease is toward the top). Span them out so they look like turkey feathers. Turn the paper bag over and glue two eyes onto the turkey. Glue the gobbler to the turkey, but do not put any glue past the bottom crease.
Paper Bag Turkey Craft Primary Theme Park
Cut out the different pieces of the template. Glue each of the seven feathers together by layering the small piece onto the medium, and the medium on the large. Glue the turkey feathers onto the flap at the bottom of the bag in a fan shape. In order for them all to fit, they will overlap one another.
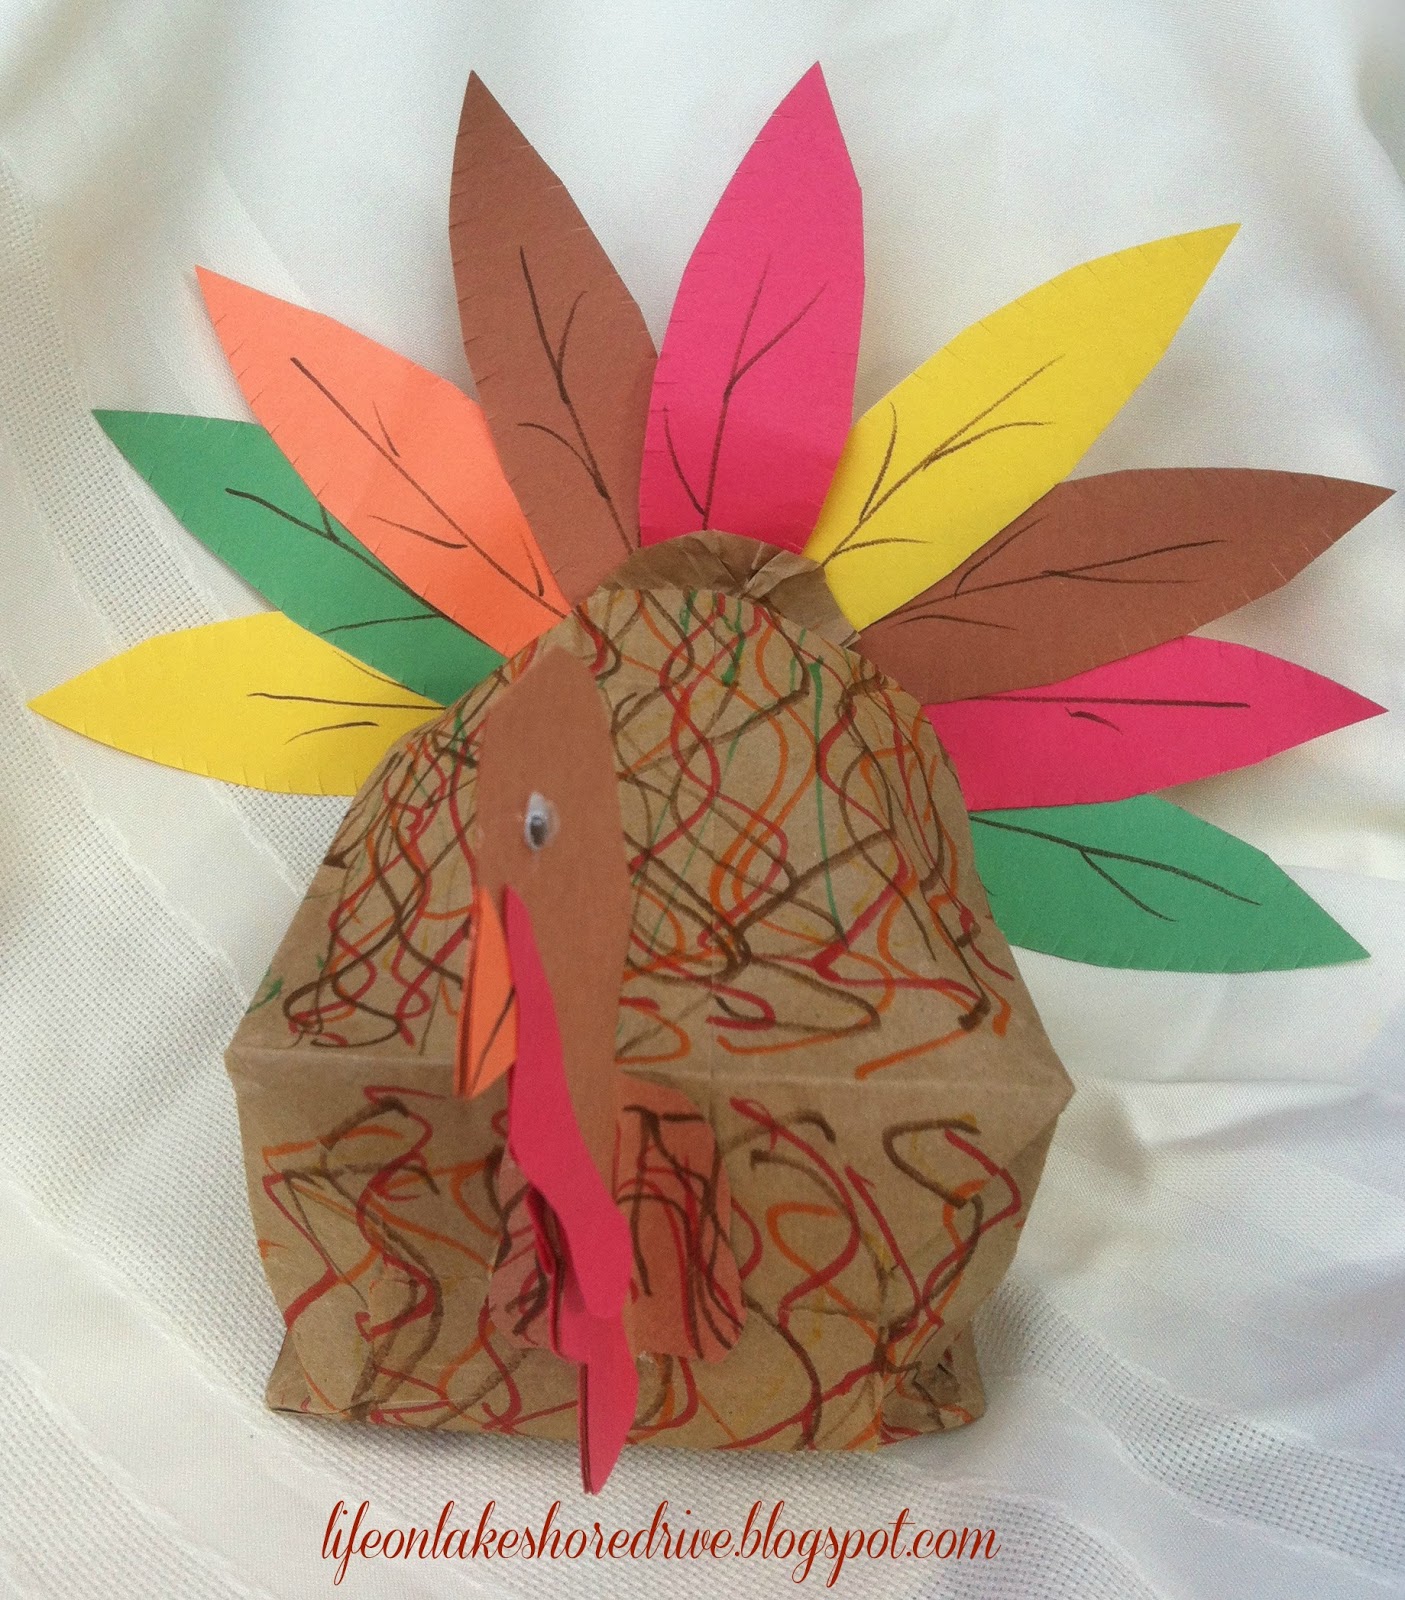
Paper Bag Turkey Craft for Kids Life on Lakeshore Drive
Step 12: Making the Turkey Feathers. Now you can start working on the turkey feathers. Start by printing out our paper bag turkey craft template. You'll find it at the end of the tutorial. Then, using colored craft paper, cut out the tail feathers, along with the turkey's waddle, beak, and eyes. You could also use googly eyes instead if you.
Paper Bag Turkey Craft Primary Theme Park
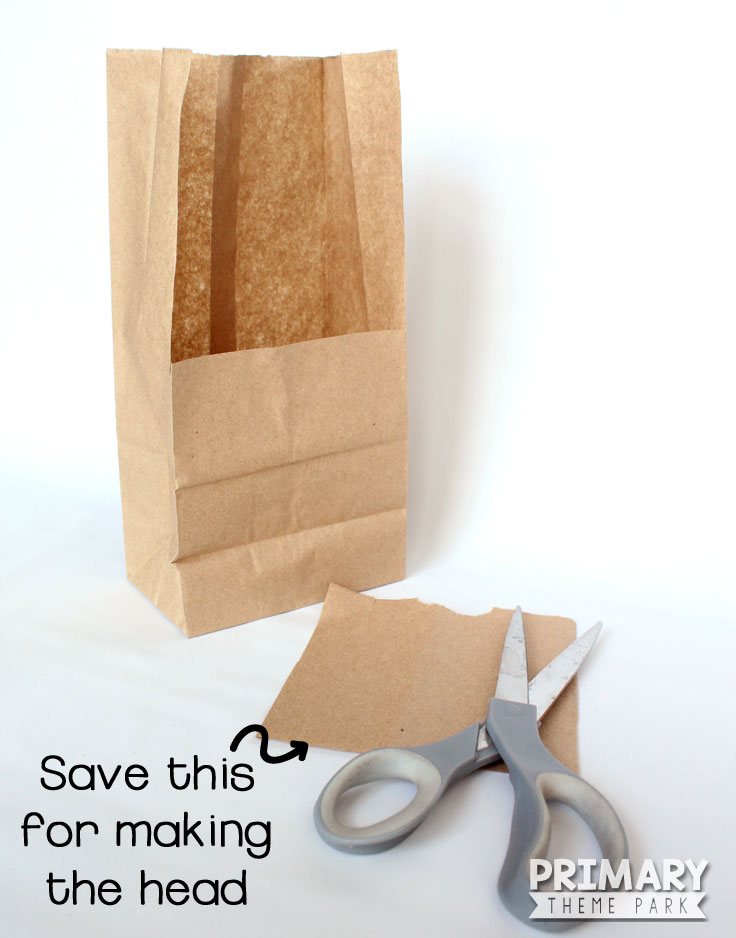
Instructions. Download the turkey template and print out all the pieces. Cut these out and set aside. Prepare the brown paper bag for the craft by cutting off about 3" on the bottom. If you're making your turkey body blue, measure the top flap of your paper bag and the bottom half of your paper bag.
Paper Bag Turkey Craft Primary Theme Park
Why you'll love this. Simple supplies - nothing fancy for this easy craft, just glue and paper.; Free printable - you don't have to be an artist for this, just trace the printable guide and you'll be set!; Great for all ages - with just a few adjustments, this works great for young children to elementary kids.; Fine motor skills practice - this inexpensive craft combines cutting.

Paper Bag Turkey Craft for Kids Life on Lakeshore Drive
Supplies needed. My free Paper Bag Turkey Craft pattern template. Size 5″ wide or 6″ wide brown paper lunch bag. Printer and white card stock paper. Scissors. Glue stick. Optional: Color card stock (this is what I used) Optional: Color construction paper (is a bit flimsier and wouldn't recommend for the feathers) Optional: SVG cut file.
