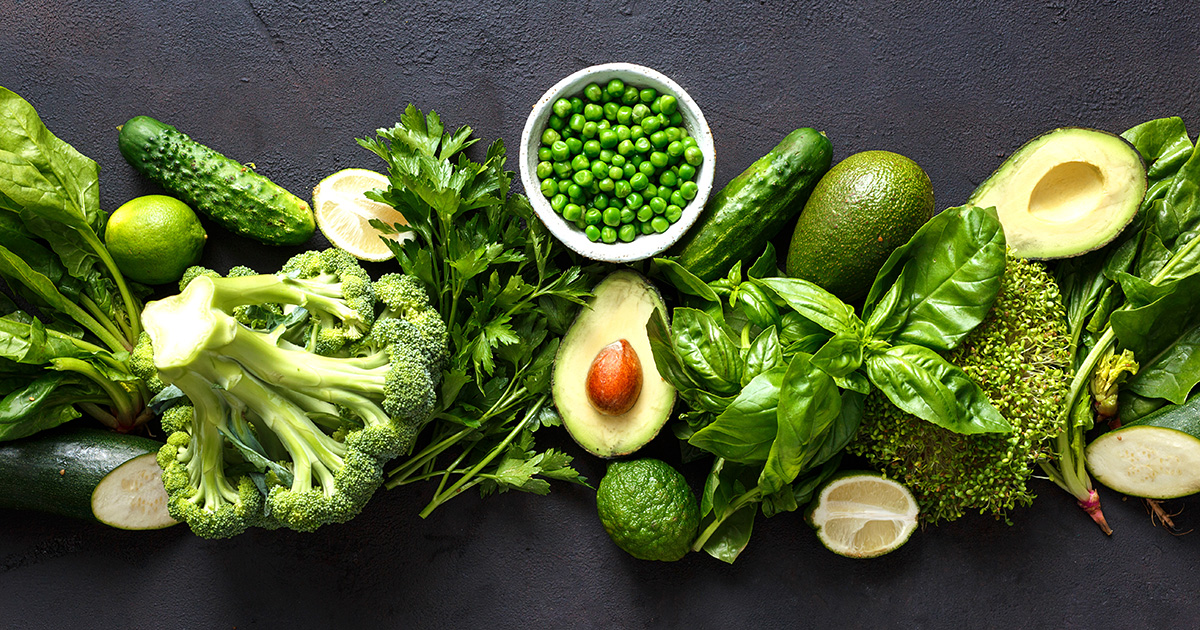
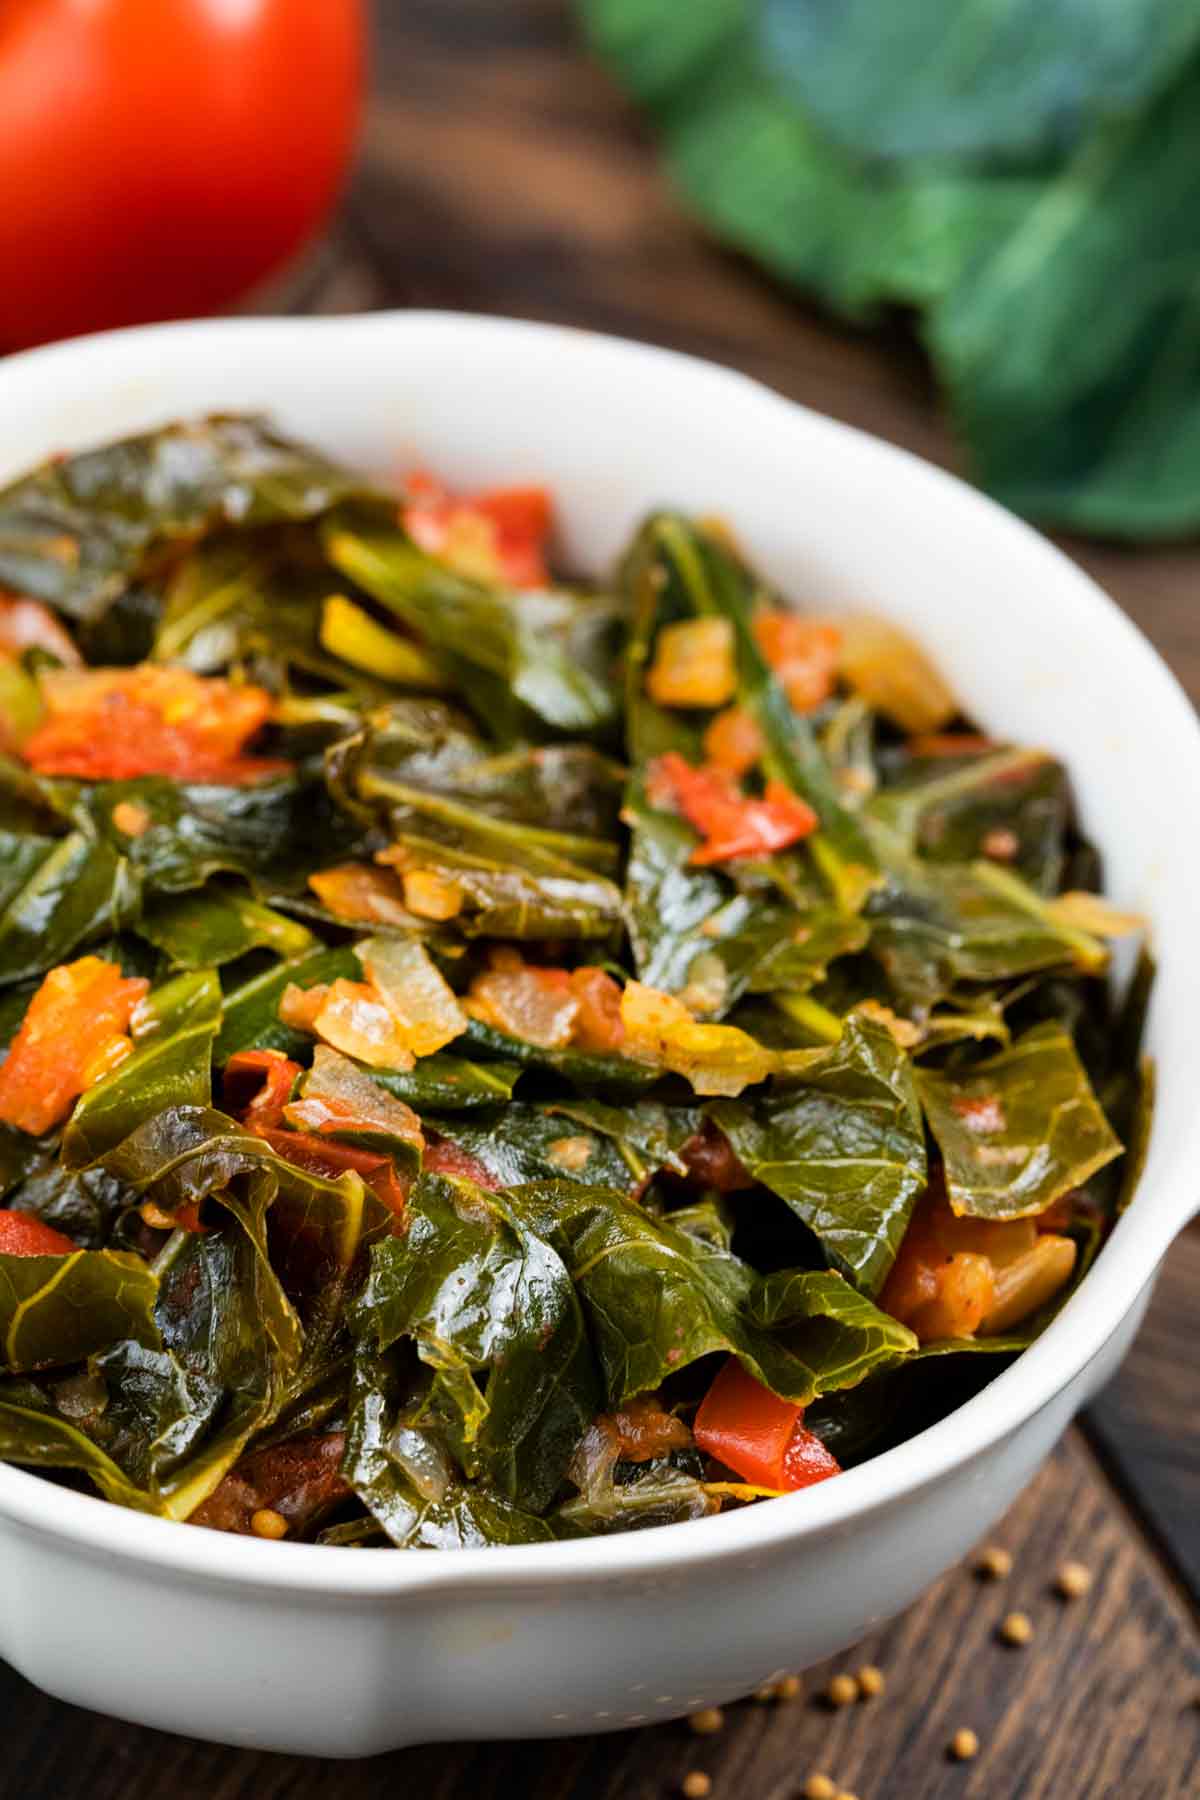
Green Veggies 7 Healthy Varieties and How to Eat Them Collard greens

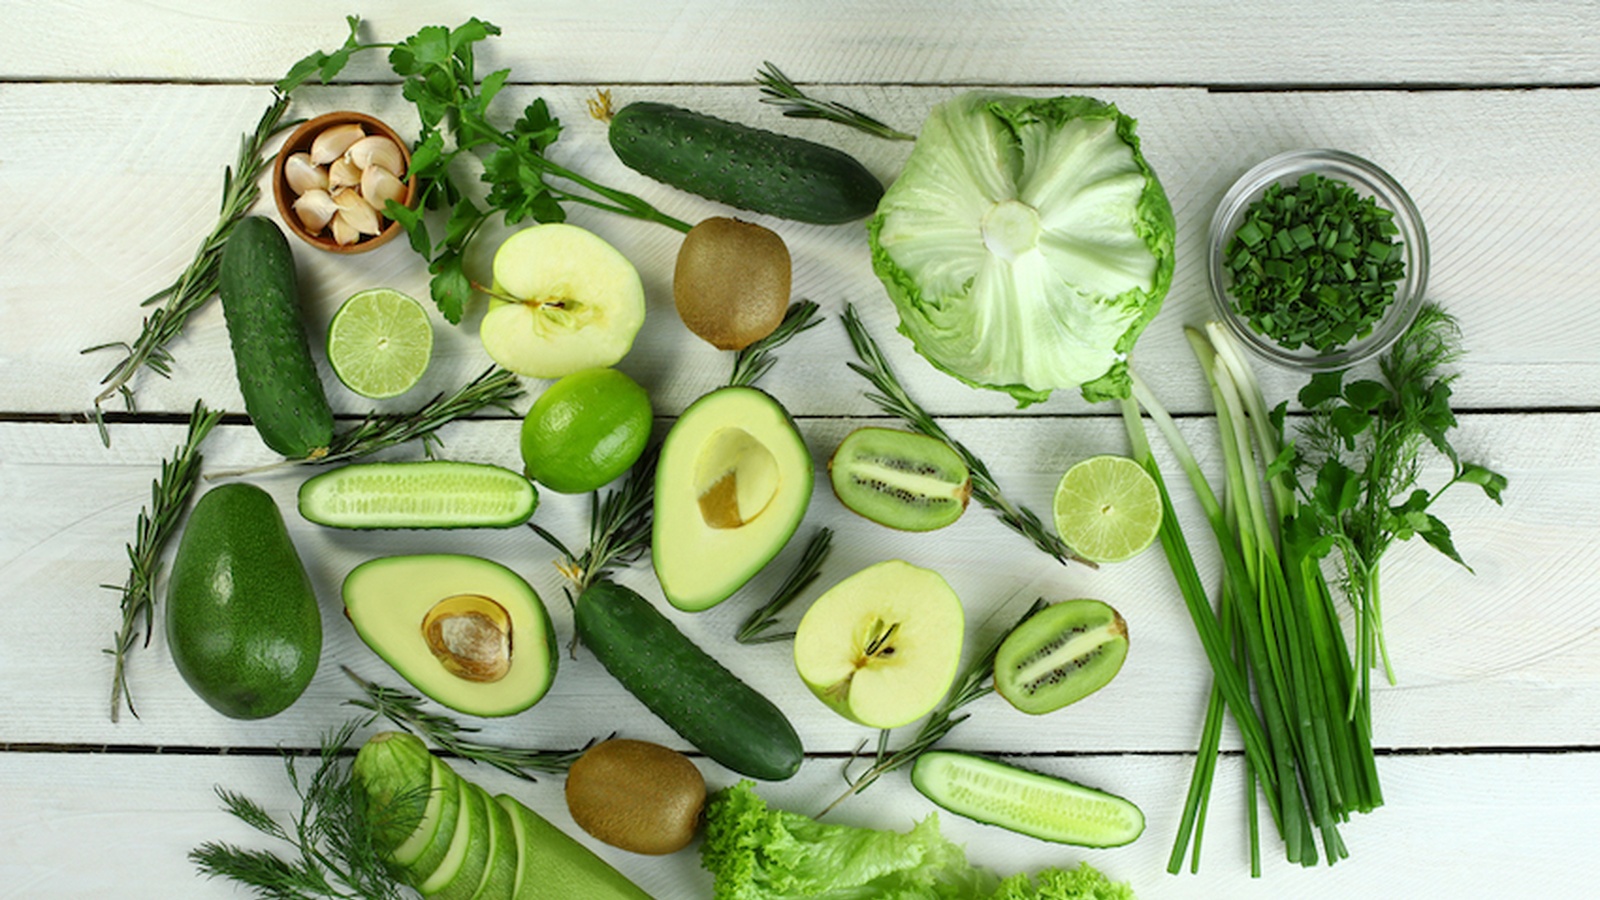
CONSUME HOME GROWN MICROGREENS, SAVE YOURSELF FROM CANCER Crops Farming
Vegetables are a low-acid food, so they must be pressure canned to prevent the risk of botulism. However, if you want to pickle them water bath canning is sometimes appropriate. Dilly Beans, for instance. Since you add an acid (usually vinegar), this makes it a high-acid food which is safe to process in a water bath.

Growing Mustards How To Plant Mustard Greens
Steps. 1. Prepare the vegetables for canning. Select fresh, ripe vegetables that are free of blemishes, dents or bruises. Wash, remove peel and seeds (if necessary) and cut the vegetables into 2 inch (5 cm) segments, slices or cubes. 2. Clean 7 glass quart (946mL) canning jars and metal lids with soap and hot water.
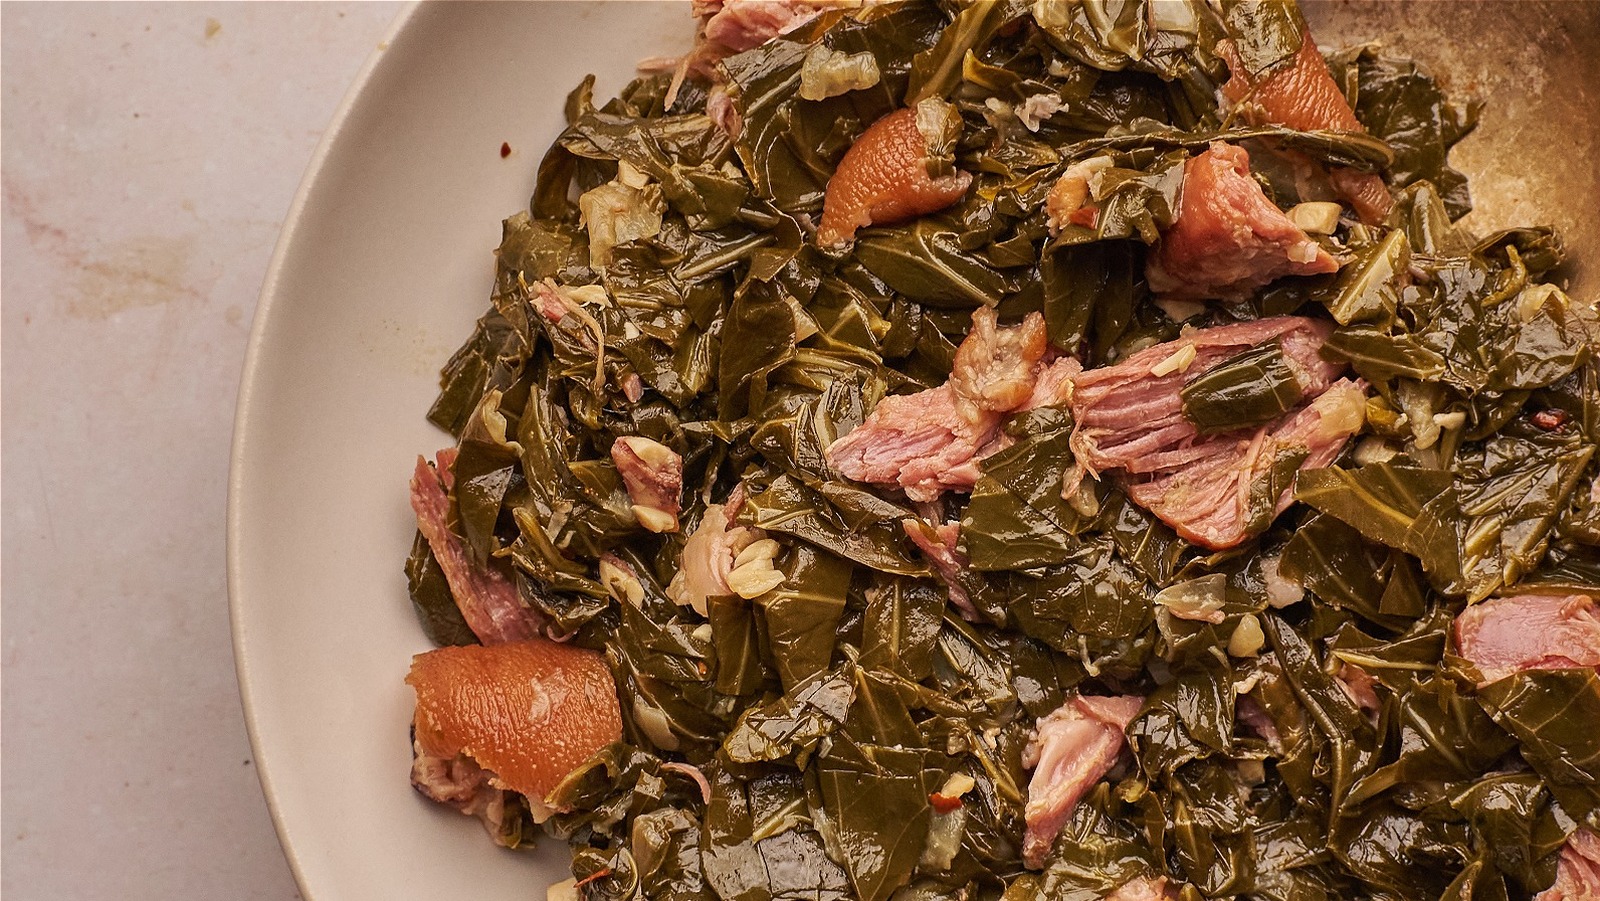
Southern Collard Greens Recipe
Trim the ends, remove any tough pieces, and discard yellowed or damaged leaves. Blanching: Pour water into a large pot and bring it to a boil. Blanch the spinach leaves in batches of 1 pound, either using a steamer or a blanching basket. Steam for 3 to 5 minutes, until the leaves are wilted.

How to Can Greens and Make Fried Cornbread YouTube
Bring the water to a rolling boil and lower the jars nestled in the rack into the water and cover the kettle. Set the timer for 10 minutes for most jams, jellies, and chutneys, slightly longer for fruits and pickles, or follow the instructions in the recipe.
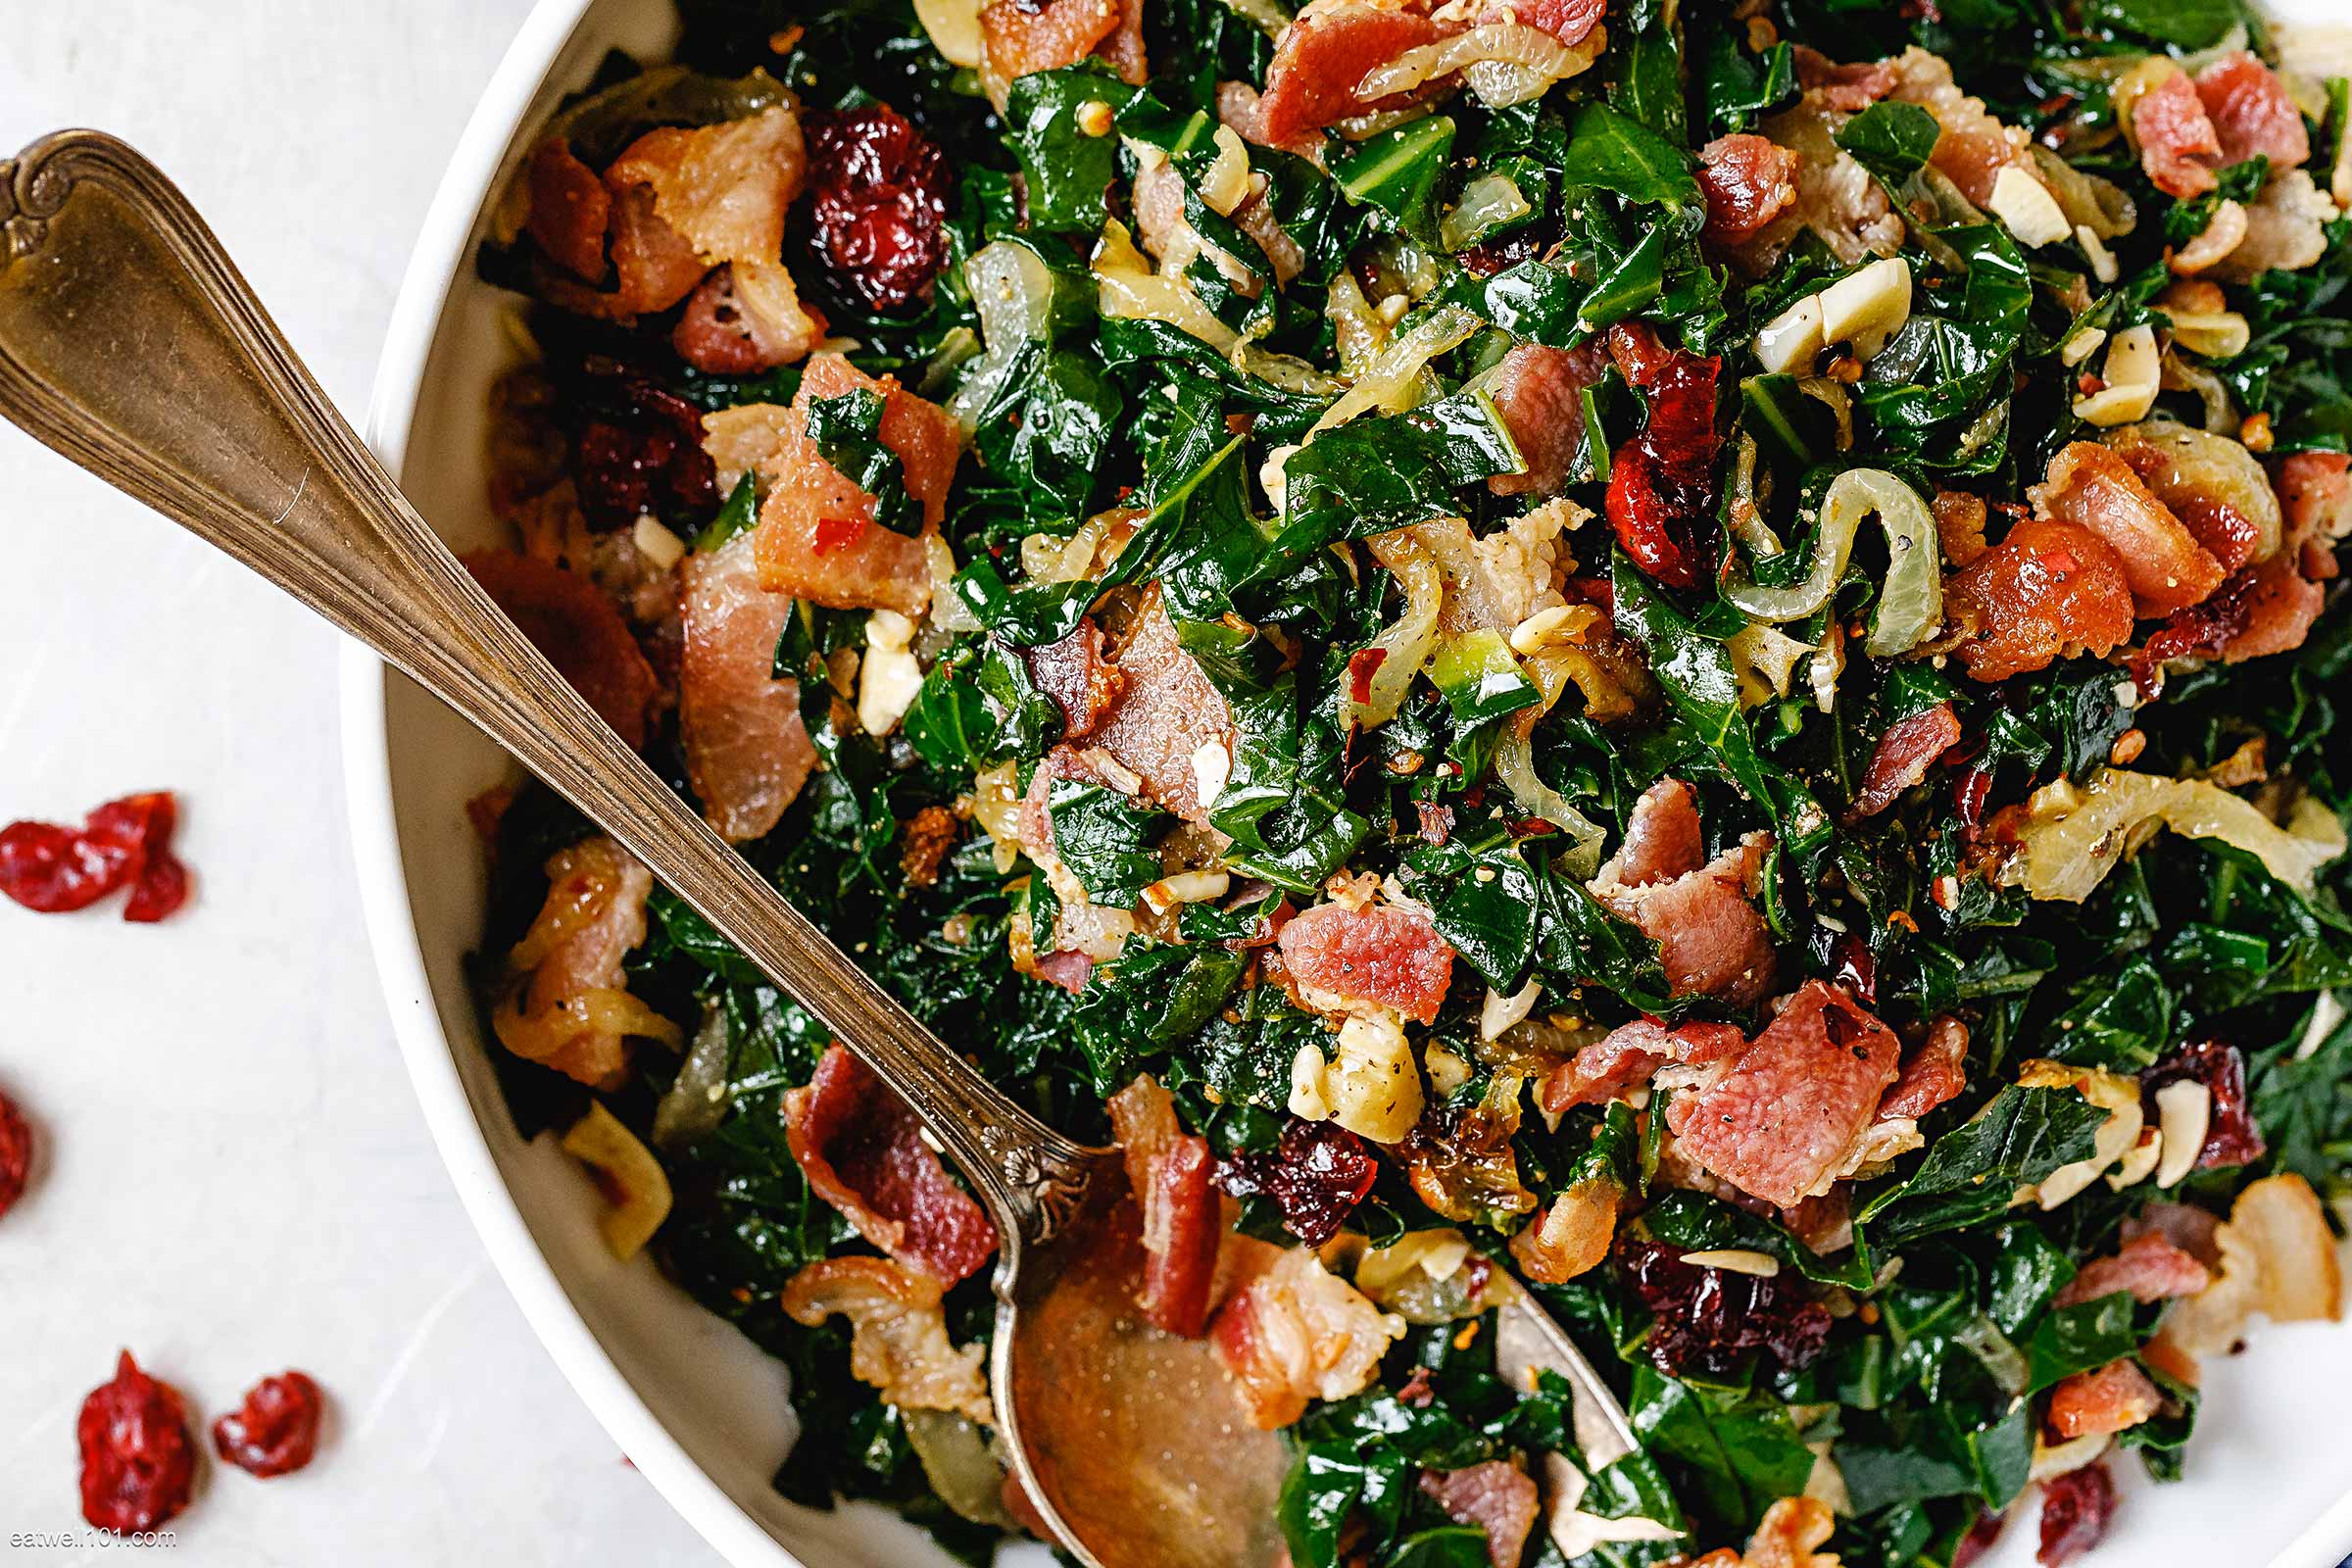
Quick Collard Greens Recipe with Bacon How to Cook Collard Greens
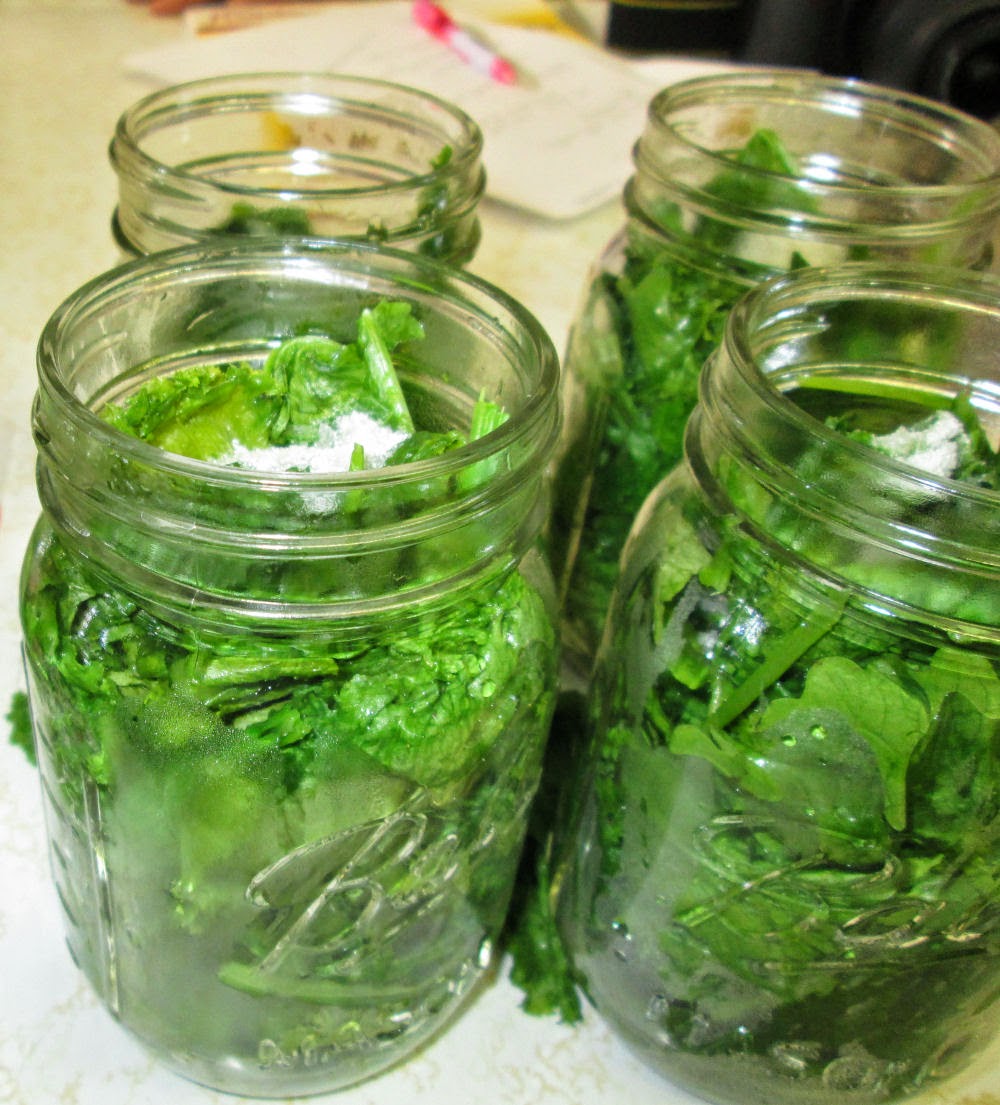
Preparing the Canning Jars: Pack the cooled greens into pint canning jars. Fill to approximately 1 inch from the top of the jar, and don't pack too tightly. Add 1/4 teaspoon salt to each jar if desired for taste. Cover with fresh boiling water leaving 1-inch headspace.
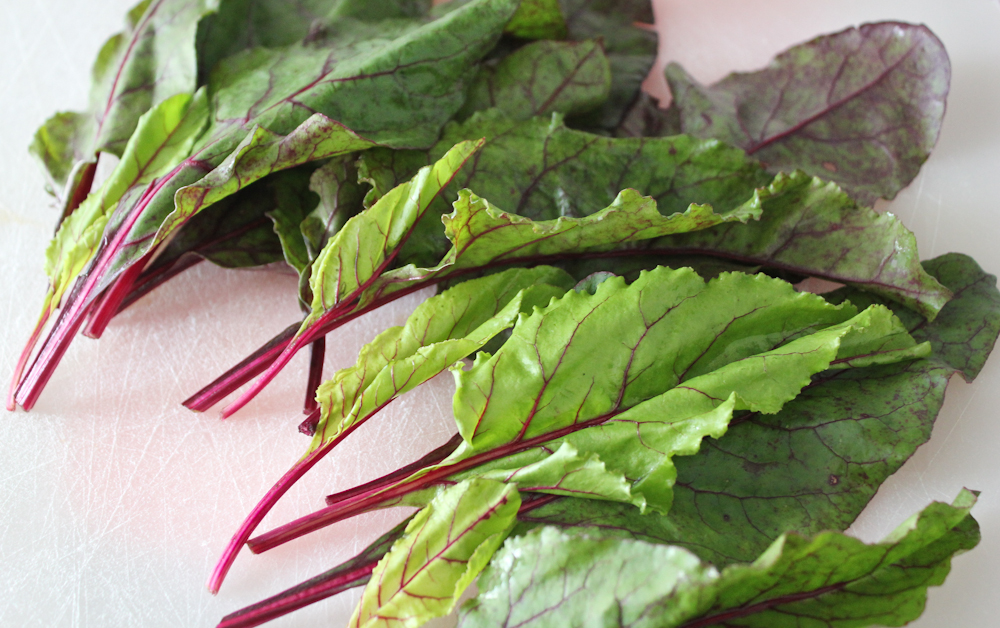
Beet Greens Health Benefits, Nutrition Facts, How to Cook, Recipes
Drain water and continue rinsing until water is clear and free of grit. Cut out tough stems and midribs. Place 1 pound of greens at a time in cheesecloth bag or blancher basket and steam 3 to 5 minutes or until well wilted. Add 1/2 teaspoon of salt to each quart jar, if desired. Fill jars loosely with greens and add fresh boiling water, leaving.

Everything You Need To Know About Easy Growing Microgreens.
In the winter when you open a jar, the greens will taste MUCH better than any store-bought canned greens (although I think frozen greens will taste ten times better than canned). Prepared this way, the jars have a shelf life of about 8 months, and aside from storing in a cool, dark place, require no special attention.
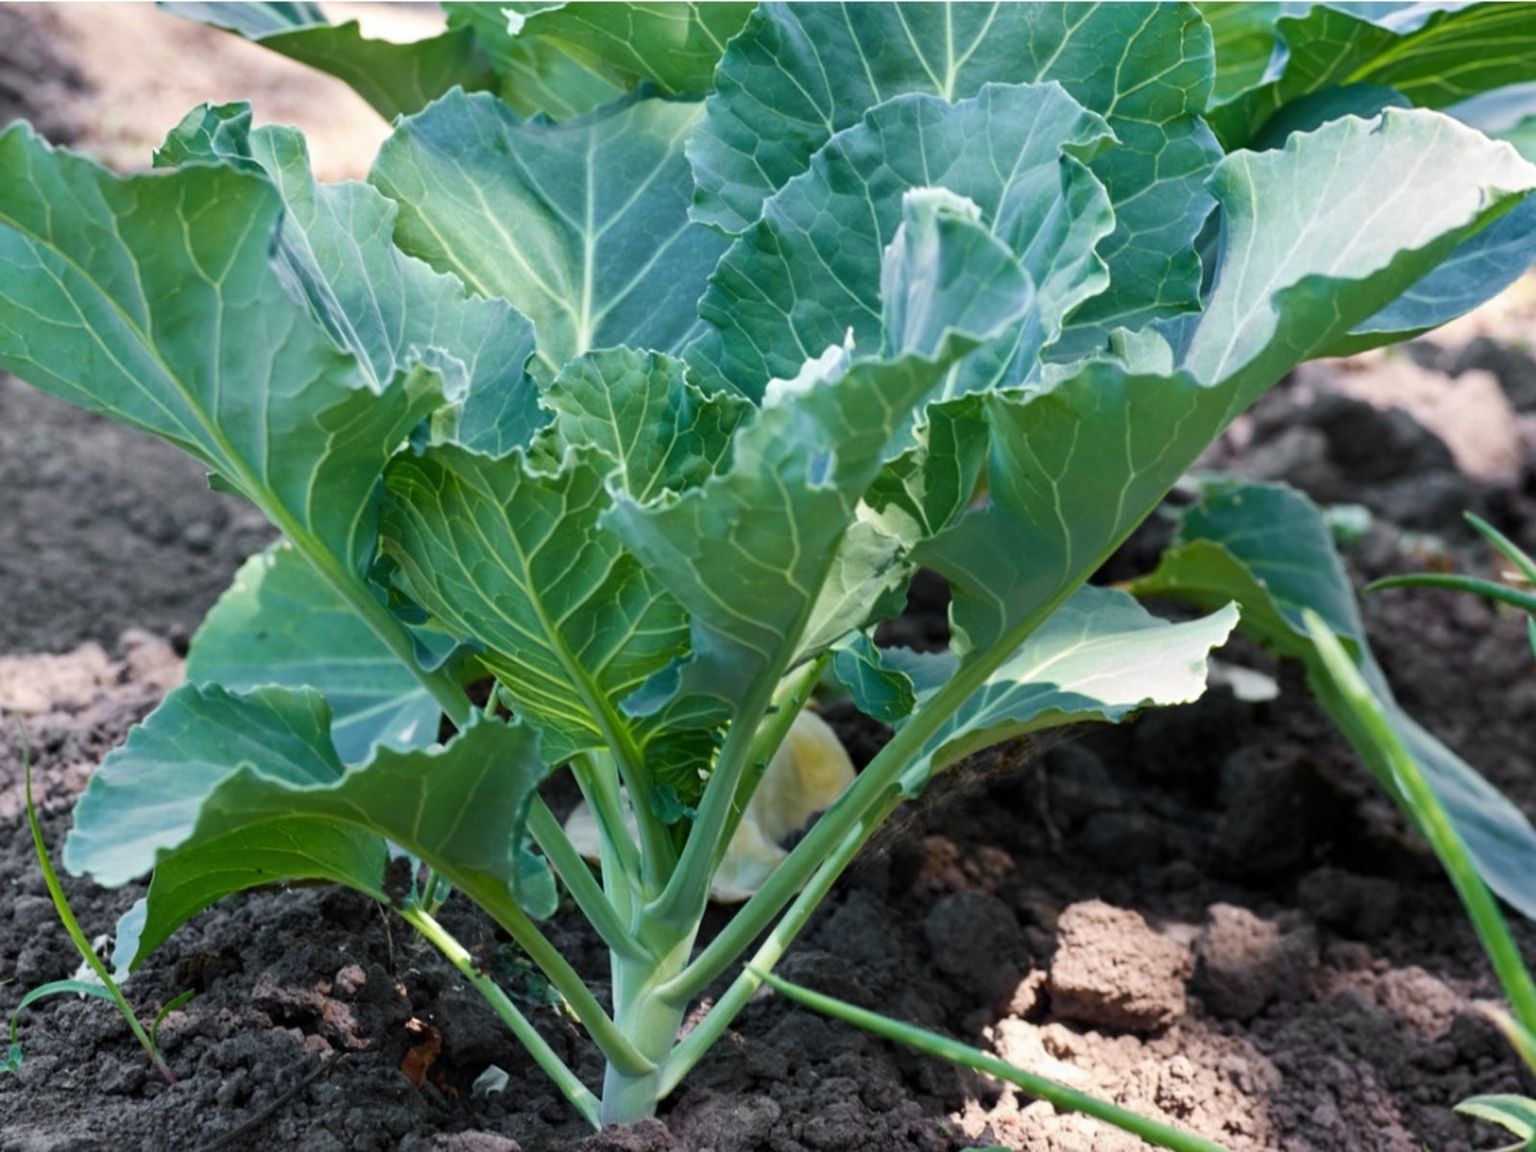
Growing Collard Greens How And When To Plant Collard Greens
Fill to a depth of 4 inches with hot water. Place it on the stove over low heat with the lid off to heat it for later. Once you have your hot jars ready, start packing the jars with greens. Add ½ teaspoon of salt to pint jars and one teaspoon to the bottom of quart jars, if desired.
Get in the greens with leafy vegetables OSF HealthCare
Canning is an incredible skill to possess and it stands out as the most versatile of all the preservation techniques. With canning, you have the power to transform an abundance of summer green beans and cucumbers into a delightful assortment of pickles and relishes that your family will absolutely adore. From tangy sour dills to delectable sweet gherkins, the possibilities are endless when it.
10 Quick and Easy Ways to Eat Your Greens! FOOD MATTERS®
Start counting processing time once the water has returning to a boil. When processing time is done, turn off the heat and remove the lid venting the steam away from yourself. Remove each jar with the jar lifter and place upright and 1 to 2 inches apart on a cloth towel to cool. Let jars cool 12 to 24 hours.

DAILY GREENS COMPLEX By Zenith Spectrum
Place 1 pound of greens at a time in cheesecloth bag or blancher basket and steam 3 to 5 minutes or until well wilted. Add 1/2 teaspoon of salt to each quart jar, if desired. Fill hot jars loosely with greens and add fresh boiling water, leaving 1-inch headspace. Remove air bubbles and adjust headspace if needed.

Quick Cooking Collard Greens The Anchored Kitchen
4 pounds turnip greens, untrimmed. Instructions. In a stainless steel stock pot, combine water, ham hocks, salt, pepper, garlic powder and red pepper flakes. Bring to a boil over medium-high heat. Once at a boil, reduce heat and simmer on low. Slice bacon into 1" strips then place in skillet on medium heat.
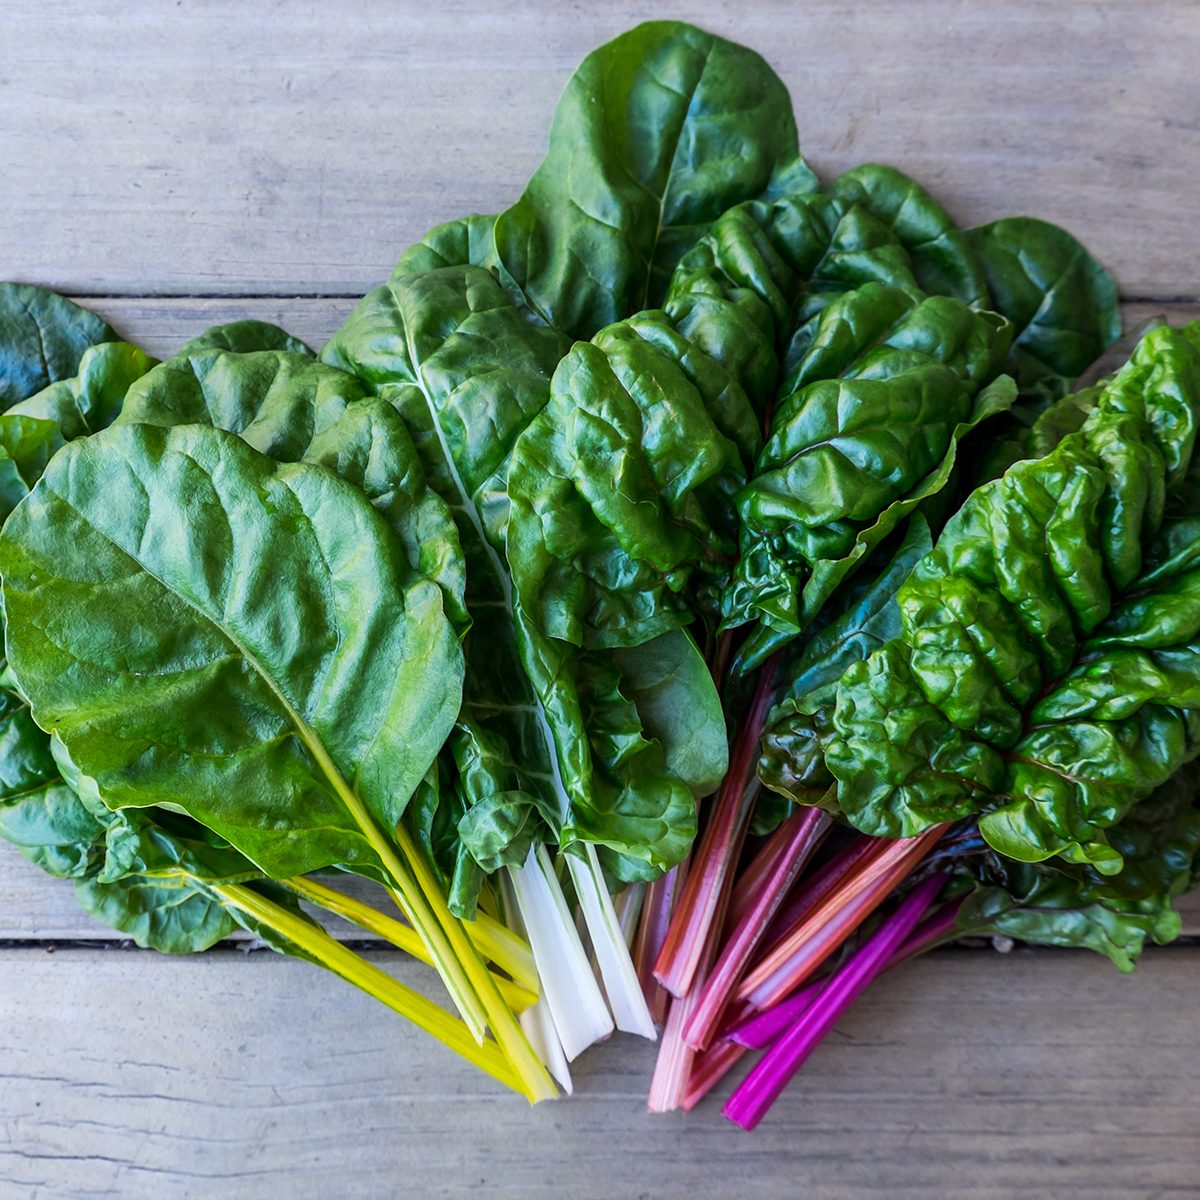
Leafy Greens 101 Your Guide to Leafy Green Vegetables Taste of Home
Instructions: Preparing Collard Greens: Start by washing your collard greens thoroughly. Slice the leaves into small pieces after removing the tough stems. Sterilizing Jars And Lids: Place your canning jars, lids, and bands in a large pot of water. Bring it to a boil and simmer for 10 minutes to sterilize.
to Kat's Canning Tidbits I hope you enjoy your visit! CANNING
Pack into hot jars leaving 1-inch headspace. Add 1/2 tsp salt to pints and 1 tsp to quarts. (salt is optional) Fill jars with boiling water, again leaving 1 inch head space. Next be sure and wipe off the rims of your jars. If there is salt or greens sticking to the jar it will interfere with the seal to the canning lid.

Green Veggies 7 Healthy Varieties and How to Eat Them Collard greens
Canning Instructions. Add 1/2 tsp. salt to each sterilized canning jar (optional). Salt is for flavor only. Bring 2-3 inches water to a boil in a large stock pot. Add a handful of greens at a time to the boiling water and boil for 1 minute. Use tongs to remove the greens and place in ice water for 1 minute. Pack greens loosely into sterilized jars.
Instant Pot Collard Greens (Vegan, Easy!) Veggie Chick
Using a clean, damp cloth, remove any food residue from the rim of the jar. Place the lid and band on the jar and place in the water bath canner. Repeat steps 2 through 4 with the remaining jars and food. Place the lid on the water bath and bring the water to a boil. Process for the time noted in the recipe.
